There were three main parts to this week's assignment ranging from least fun to most fun, so here they are:
I worked through this tutorial, which was pretty helpful overall, but I did have to pause and rewind a ton because I had a hard time keeping up! It was especially useful to learn about tools like the pan button and zoom fit, as I had a really hard time navigating the area on the program.
Here's the first few shapes I created using the tutorial:
Here we had to take a few household objects, measure them using calipers and other tools, and create them in Fusion 360
I first made a 3d model of my hydroflask water bottle. I did this by making 2d sketches of the individual parts, and then extruding parts of those sketches to bring them into 3d. One part that was difficult was measuring the amount of fillet needed to round the edges. I learned that the value entered when doing this on a cylinder is equal to the radius of the new, smaller cylinder. Here's a chart with my measurements and some pictures of the process!
| description | dimension |
|---|---|
| base diameter | 8.5cm |
| base height | 22cm |
| curve | 1cm |
| lid diameter | 6.7cm |
| under-lid height | 2cm |
| lid height | 2.5cm |
| metal circle diameter | 1.5cm |
| top arc width | 1.5cm |
| top arc height | 6 cm |
| lid thickness | 2mm |
Next I wanted practice measuring smaller distances and working with something not totally filled in, so I used a roll of tape! I used the same method as above, and here is a table with measurements and some pictures!
| description | dimension |
|---|---|
| total thickness | 24.8mm |
| inner cardboard thickness | 2.19mm |
| inner circle diameter | 31.85 mm |
| roll height | 18.95mm |
| cardboard height | 19.25mm |
I decided I wanted to make a larger, planned out structure rather than cutting out many pieces and putting them together afterwards, so I decided to try and make a lampshade. The idea was to have a space in the middle for a light bulb to go, and then a cool outer design holding it together. I started by testing out the material thickness by designing and print a simpler shape to make sure the pieces would fit together:
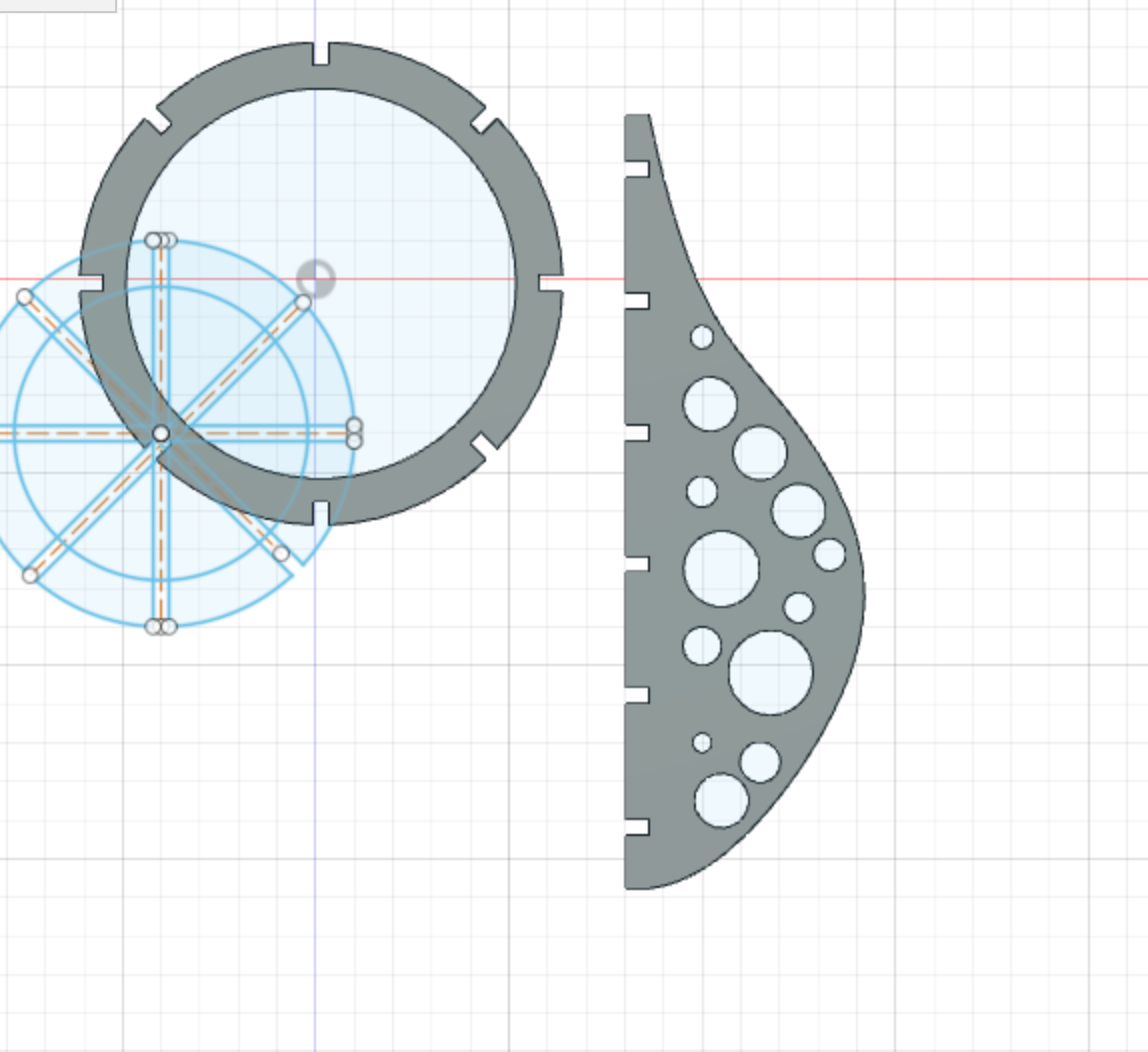
Once I had those measurements down, I sketched out the central spokes and side pieces in Fusion 360:

Then I had to cut out some more cardboard to fill the laser cutter:

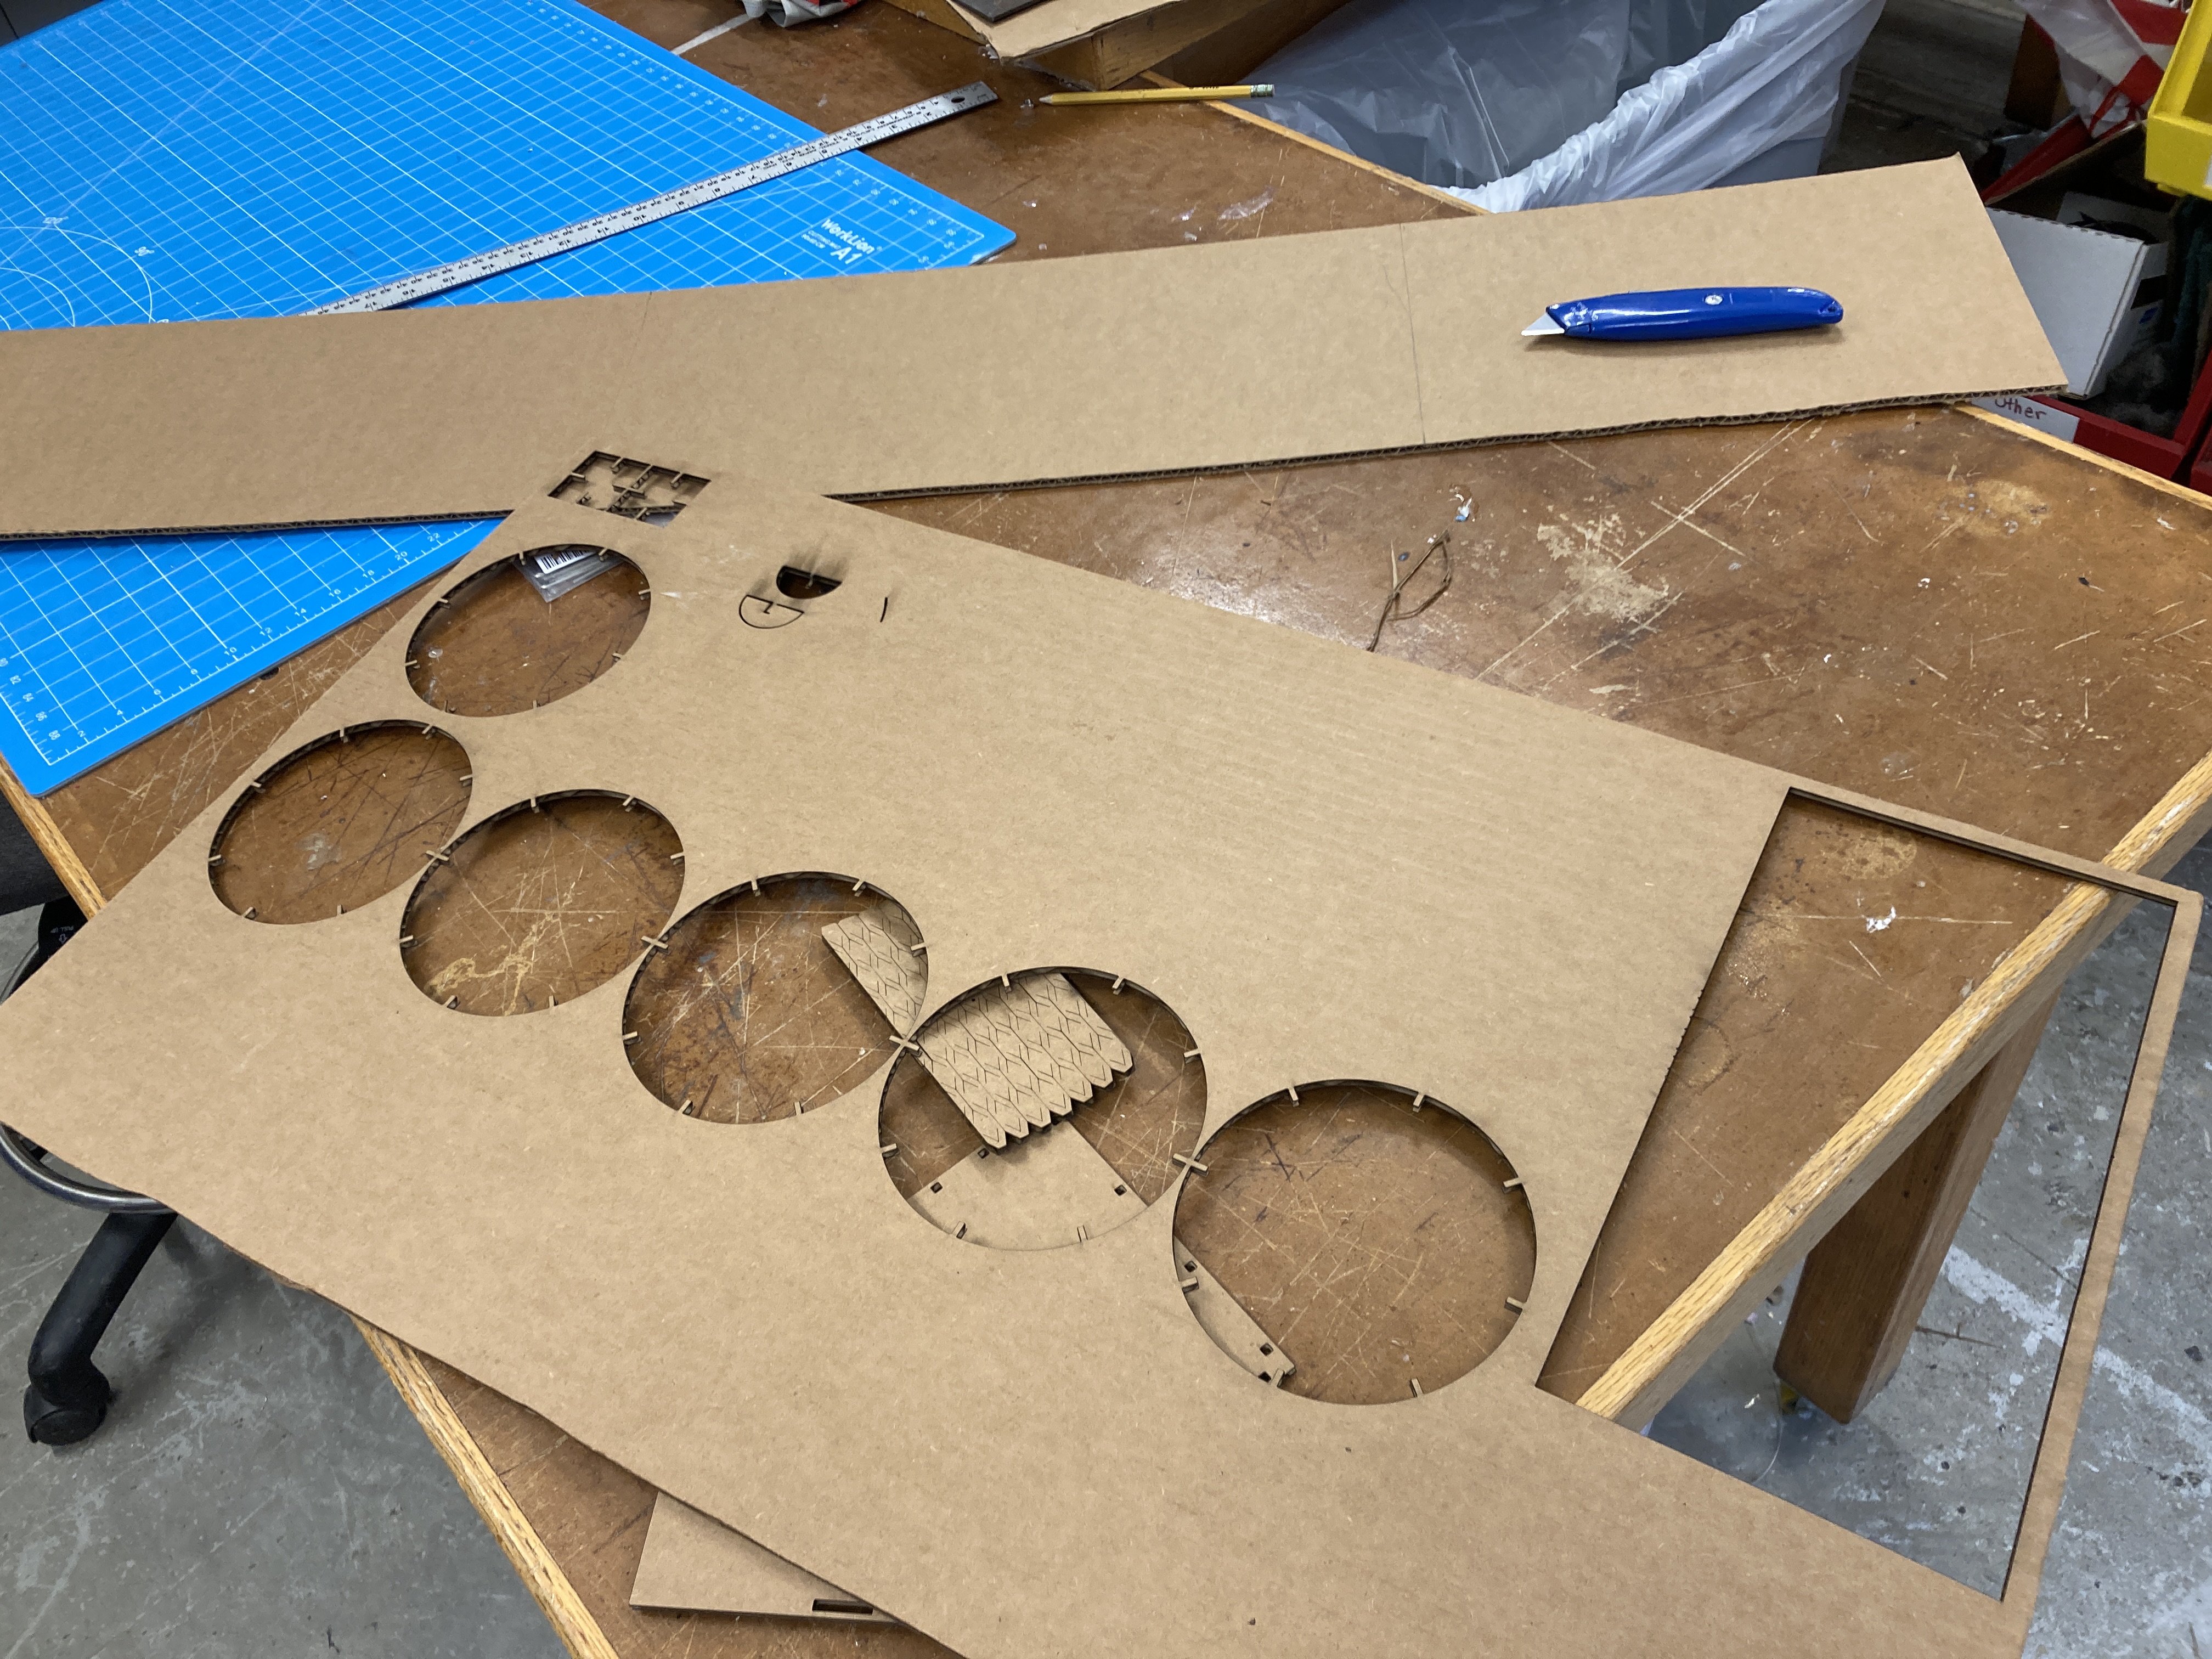
Next I actually did some printing:
While it got a bit tougher on the final pieces, I finally managed to fit everything together to get a final product!
