Week 1: Project Ideas
i don't have any super concrete ideas for my project yet, i'm hoping to refine these as the semester goes on, but here are a couple of ideas i have so far
Knee-Related Ideas
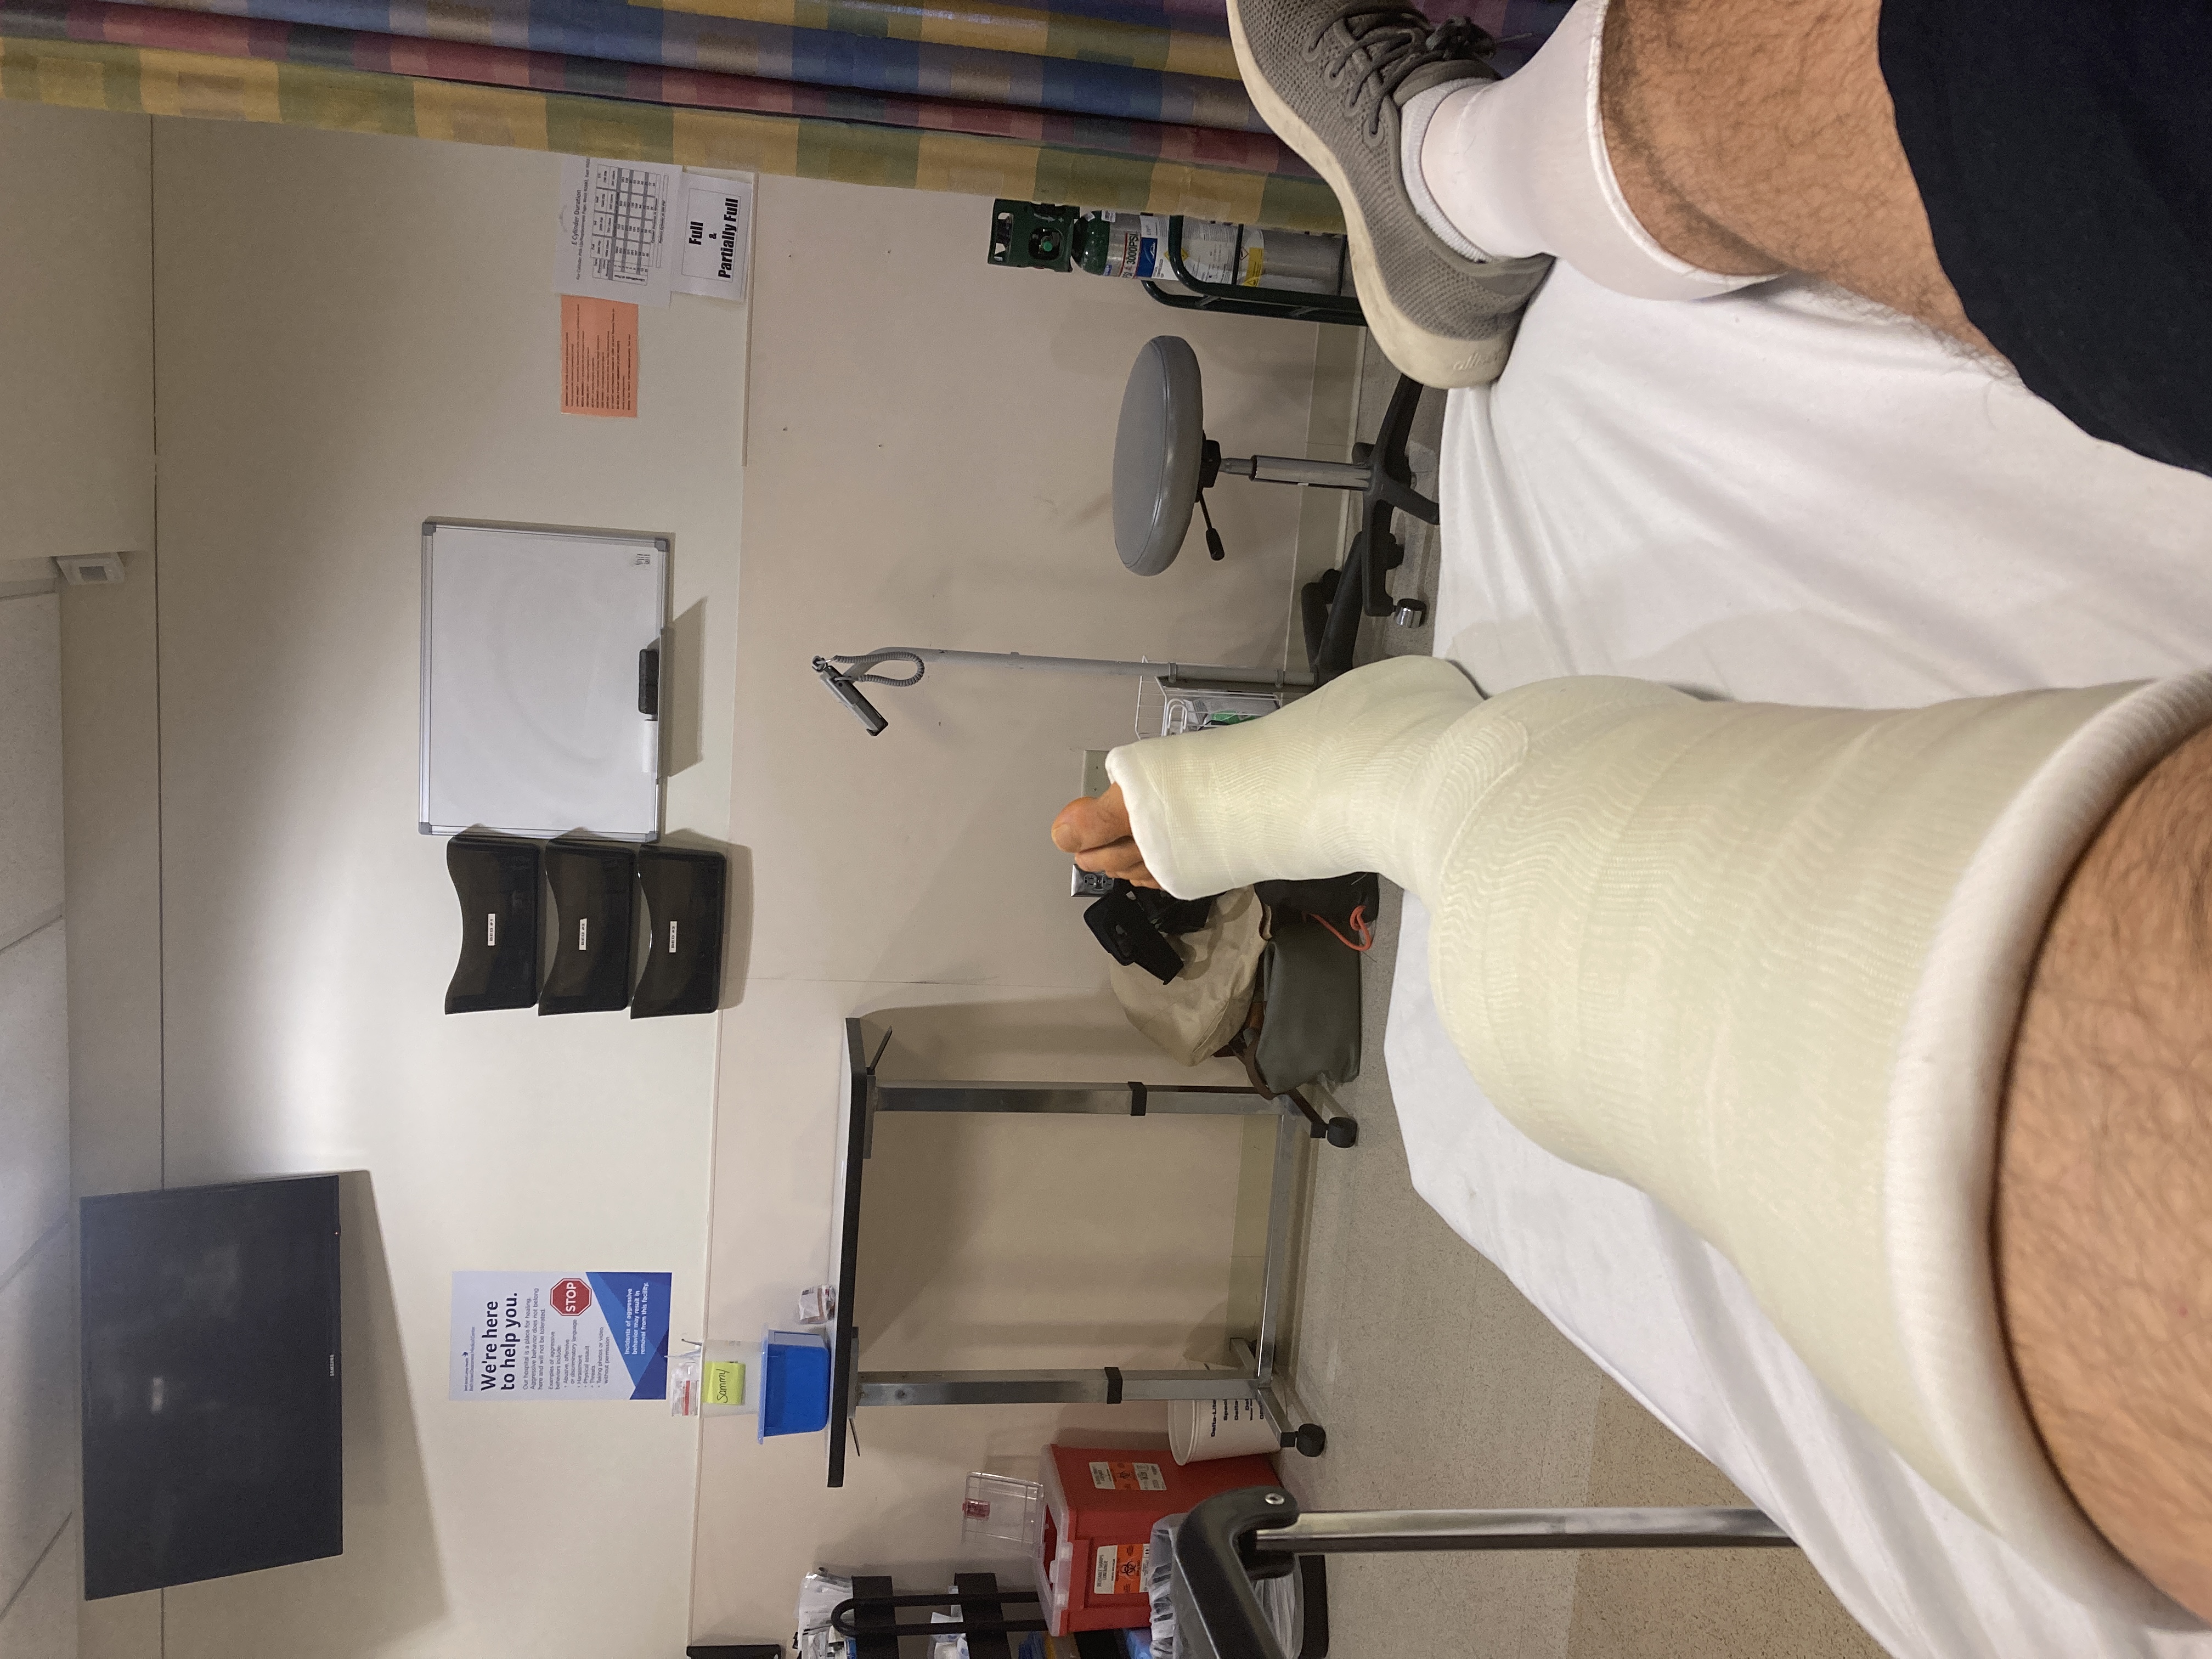
i tore my patellar tendon, acl, and meniscus last semester, so i've been thinking about something that could help me (and maybe others) in the recovery process. one idea i've had is a motion-tracking device that can help people see whether they're doing their pt exercises correctly. another potential idea along these lines would be something to help people who just had surgery with a simple everyday task (i couldn't put my own socks on for more than a month).
Education-Related Ideas
i've been involved in computer science education for around five years now, and i'd be interested in the idea of making a device that kids could program to make learning cs more physical. it would be cool to allow kids to actually move physical blocks around to make a device move and get excited about programming without just looking at a computer screen.

Week 4 Update: Background Research
While I still could change my mind, right now I'm starting to research the idea of making a kit that will help kids learn to code by physically dragging code blocks around. Here's what I found in my research while looking forr similar things that already exist:
- Scratch: This is what gave me the idea, and it is very useful as it allows kids to drag and drop colorful pieces that control varrious "sprites" on the screen. I think this would be even more compelling for kids if it was done in the physical space.
- Lets Start Coding Kits: These kits allow kids to practice programming, then send their programs to a circuit they've made, similarly to what we're doing with microcontrollers. While the results are physical, the coding itself actually takes place on a computer. These kits cost around $170, so it would be nice to make it cheaper.
- Cubetto: This toy seems to be the most similar to what I want to accomplish, as kids put code pins into a physical board rather than typing it out. I would hope that my project though could include some concepts like loops and conditionals not on display here, and that I could put something together for less than the price here of $180
In general, it might not be possible to do everything I hope to (conditionals, functions, loops, etc), but I hope to do something with at least some aspects of programming built out, with some input sensors (maybe a remote control?) and keep it at a much lower cost than the existing options offer.
Week 5 Update
Bill of Materials
- Wooden board on which code pieces would be placed.
- Individual code pieces likely laser cut out of vinyl
- Metal connectors for the pieces so we can somehow detect which pieces are where.
- For output, I would love to make a small vehicle that would drive around as programmed. I know I would need some small motors for this, a power supply, and a material to build the vehicle, but I haven't done much playing around with this.
Timeline
- In the coming weeks, get a vehicle working that accepts commands and can turn, stop, go, and change speeds.
- Afterward, get a basic connection between the code blocks and the car. This might look like just "stop" and "go" blocks that would control it remotely.
- Start building out more complicated code blocks and implementing them. These could be conditionals, functions, loops, etc.
- Consider other input/output sources. Should the vehicle change colors? Should it detect certain things like walls or spots on the ground?
Project Plan
- 3D print the chasis of the car. This will hopefully allow the parts to fit together smoothly so I won't have to worry about the wheels or other parts getting stuck.
- I'll have to use some remote control technology we haven't learned yet to allow the car to take commands based on what code is arranged by the user.
- I think I'll laser cut the code blocks, and use hand tools to make a board where they'll be arranged. I'll have to think of some circuitry magic that will allow multiple blocks of varying lengths to come together and allow the program to recognize which of the blocks are where.
- I'm not sure where the driving force of the program will be located. In the vehicle? In the code blocks? It might be useful to have 1 main start block that contains the code and that all others will attach to.
Week 6 Update: Initial Sketches
This week, we had to draw up some initial sketches of potential final projects. I was skeptical of this, but it actually raised some really important questions I hadn't considered. Below are some sketches of possible code blocks that could be included in the project:
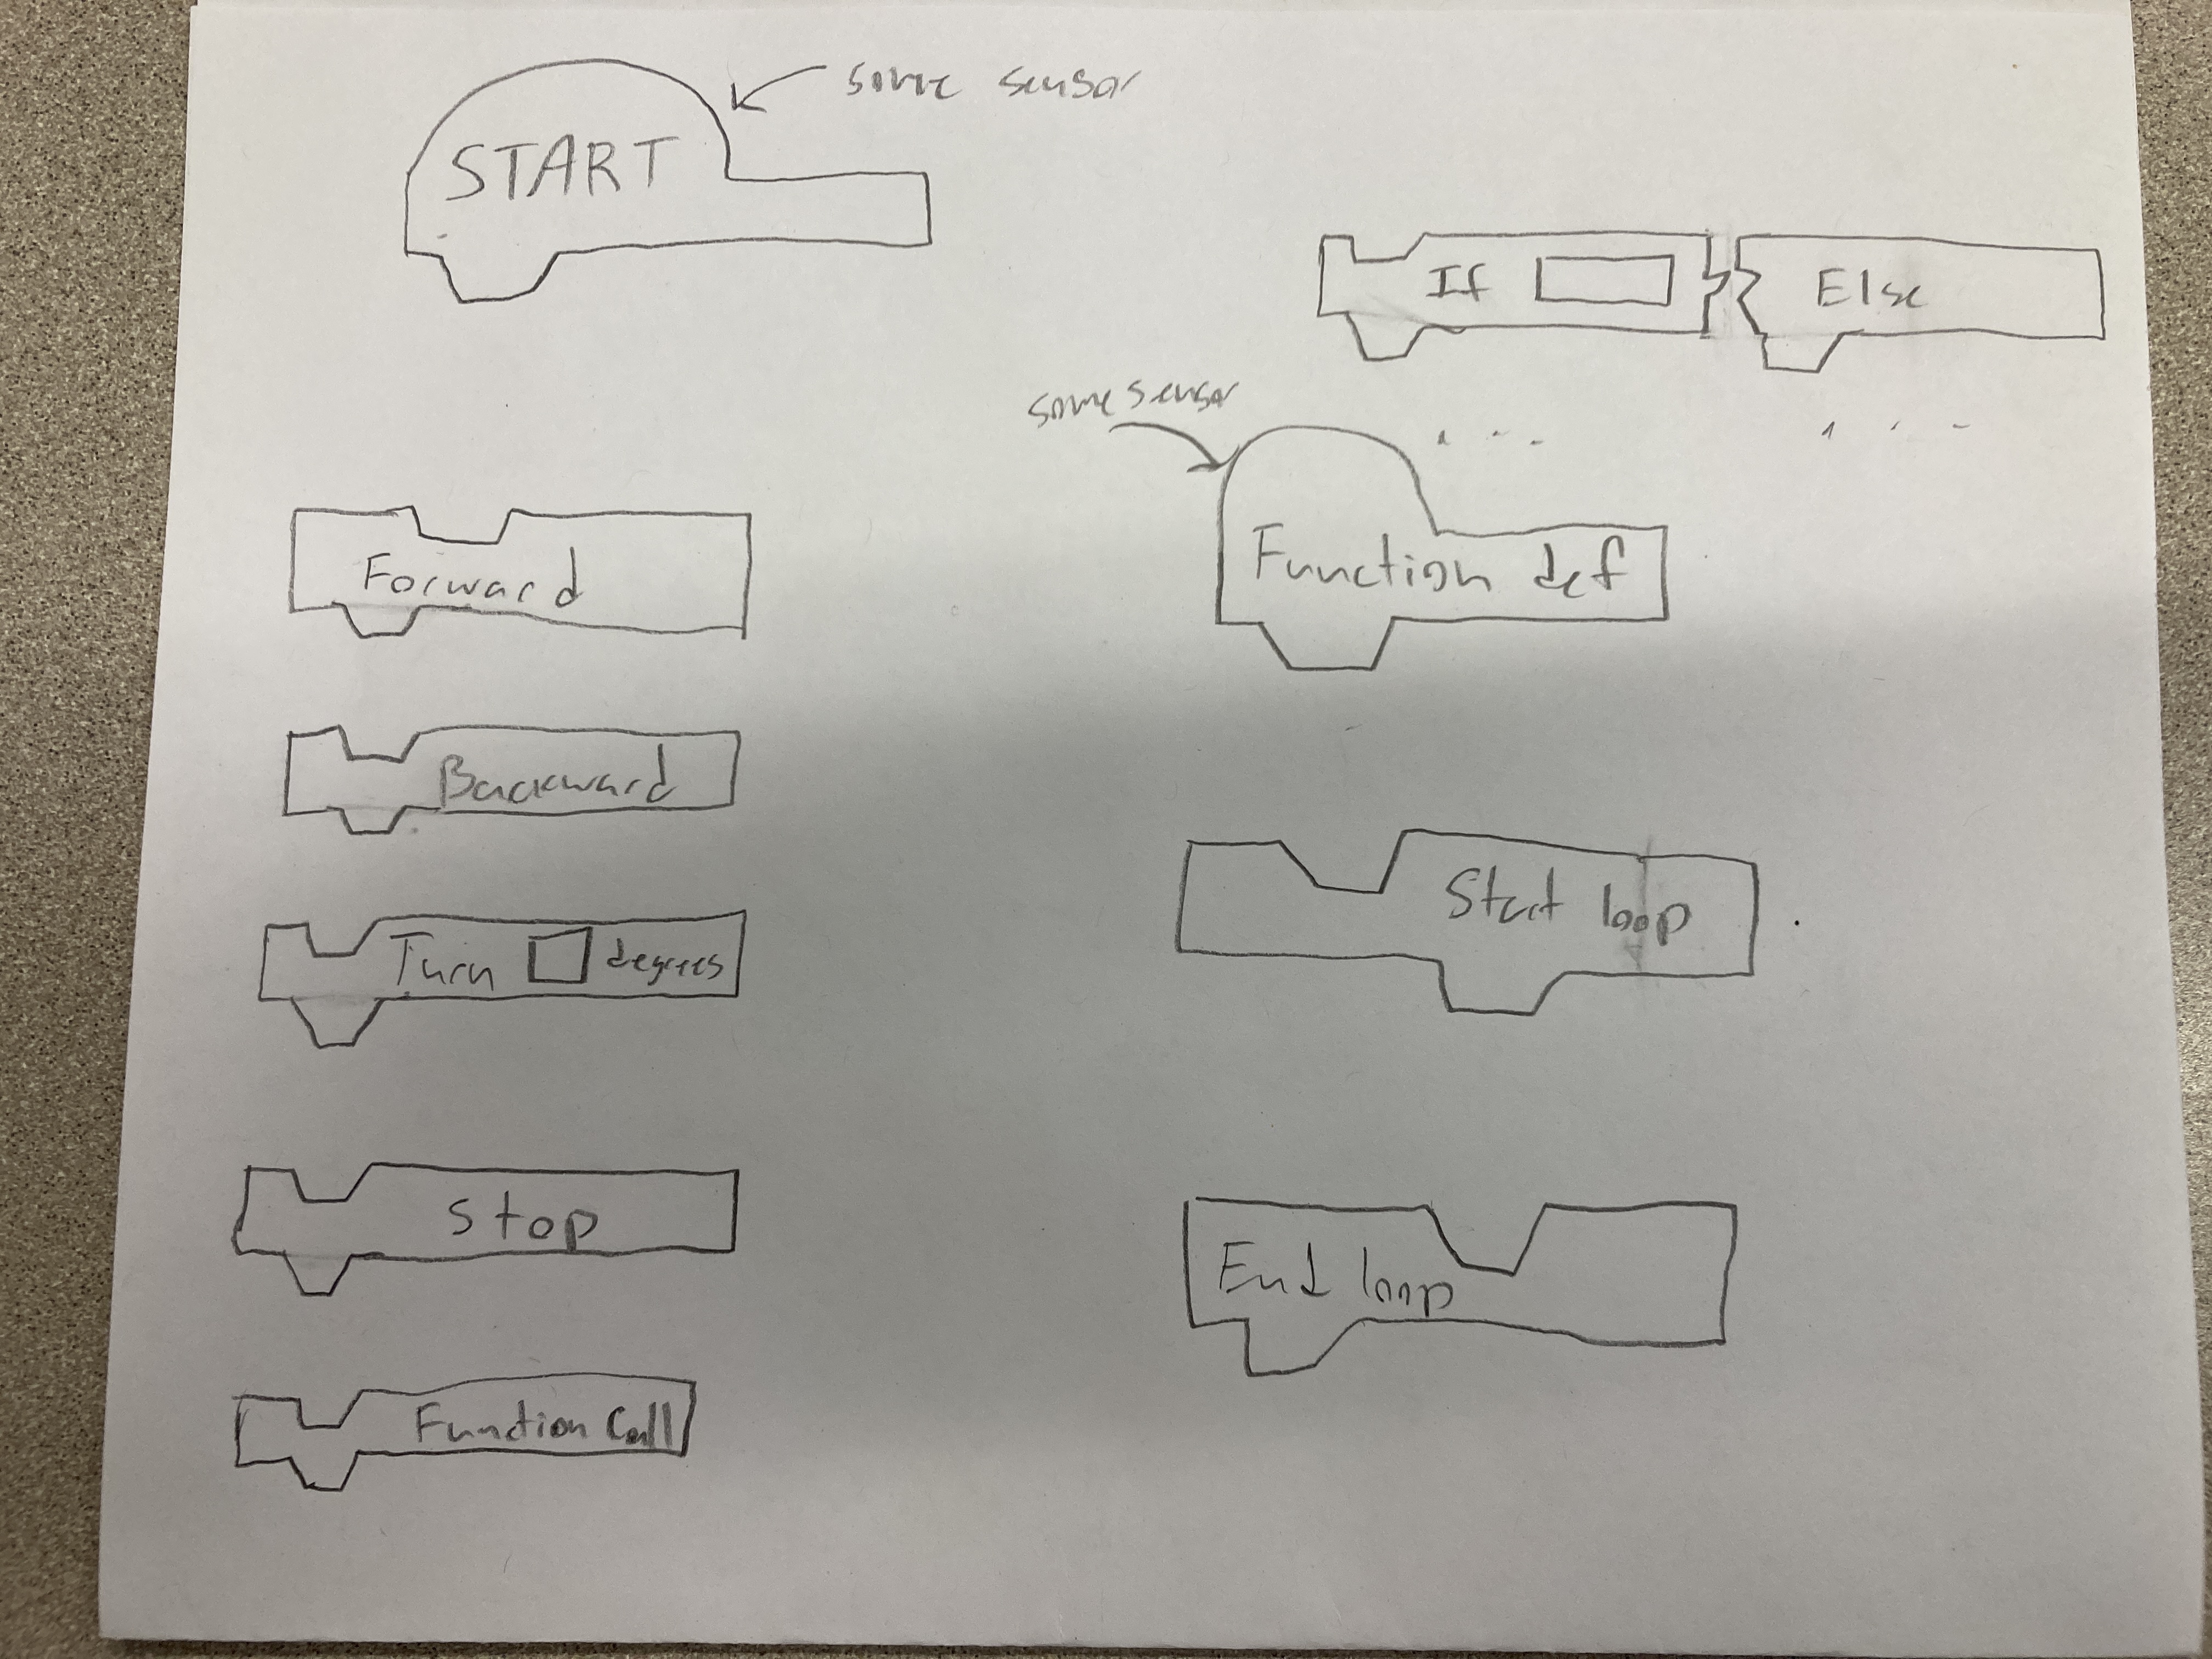
Just drawing these made me think about a few important questions:
- Should I put everything in a loop that runs forever (like in arduino code) or should I run the main block of code once and simply allow for the possibility of a forever loop?
- For numbered values (like turn X degrees, or loop X times) how should I specify those numbers? I could use a potentiometer as a dial for these maybe, or should I try a digital input?
- Is there a way to include variable names or function names? I don't want to make this too text-based because then little kids might not be able to enjoy it, but it does limit programming power.
- How will I be able to sense which blocks are connected and in what order?
- How will I send a signal from the blocks to an output device?
- In addition to movement, can I also add abilities to change color, play sounds, etc?
I plan on possibly using a little car as an output device, because I think that would be the most fun for kids. Especially if I can make it cute. A sketch is included below, along with some questions it made me think about.

- How do cars turn? Especially if I want it to be in place?
- How can I do so much wiring in a small place?
- How do microcontrollers work when not attached to a computer?
- How do we send signals to the microcontrollers using bluetooth?
- How do I make this sturdy enough that kids won't easily break it?
The sketching brought up a lot of good questions that I'll talk to others about and think about over break!
Week 10 Update: Driving and Attempting the Tiny
This week, we were tasked with developing the most crucial parts of our final projects, and I would say I made some progress, but didn't quite get there. I suppose this is why we get assignments like this, to get us to run into problems now instead of the day before it's due.
Success 1: LED Strip: I got an LED strip working which I hope to attach to the top of my output in an earlier week:
Success 2: Driving: Last week I got some driving working in the group project, so I should be able to make a similar device to drive around and be the output for my final:
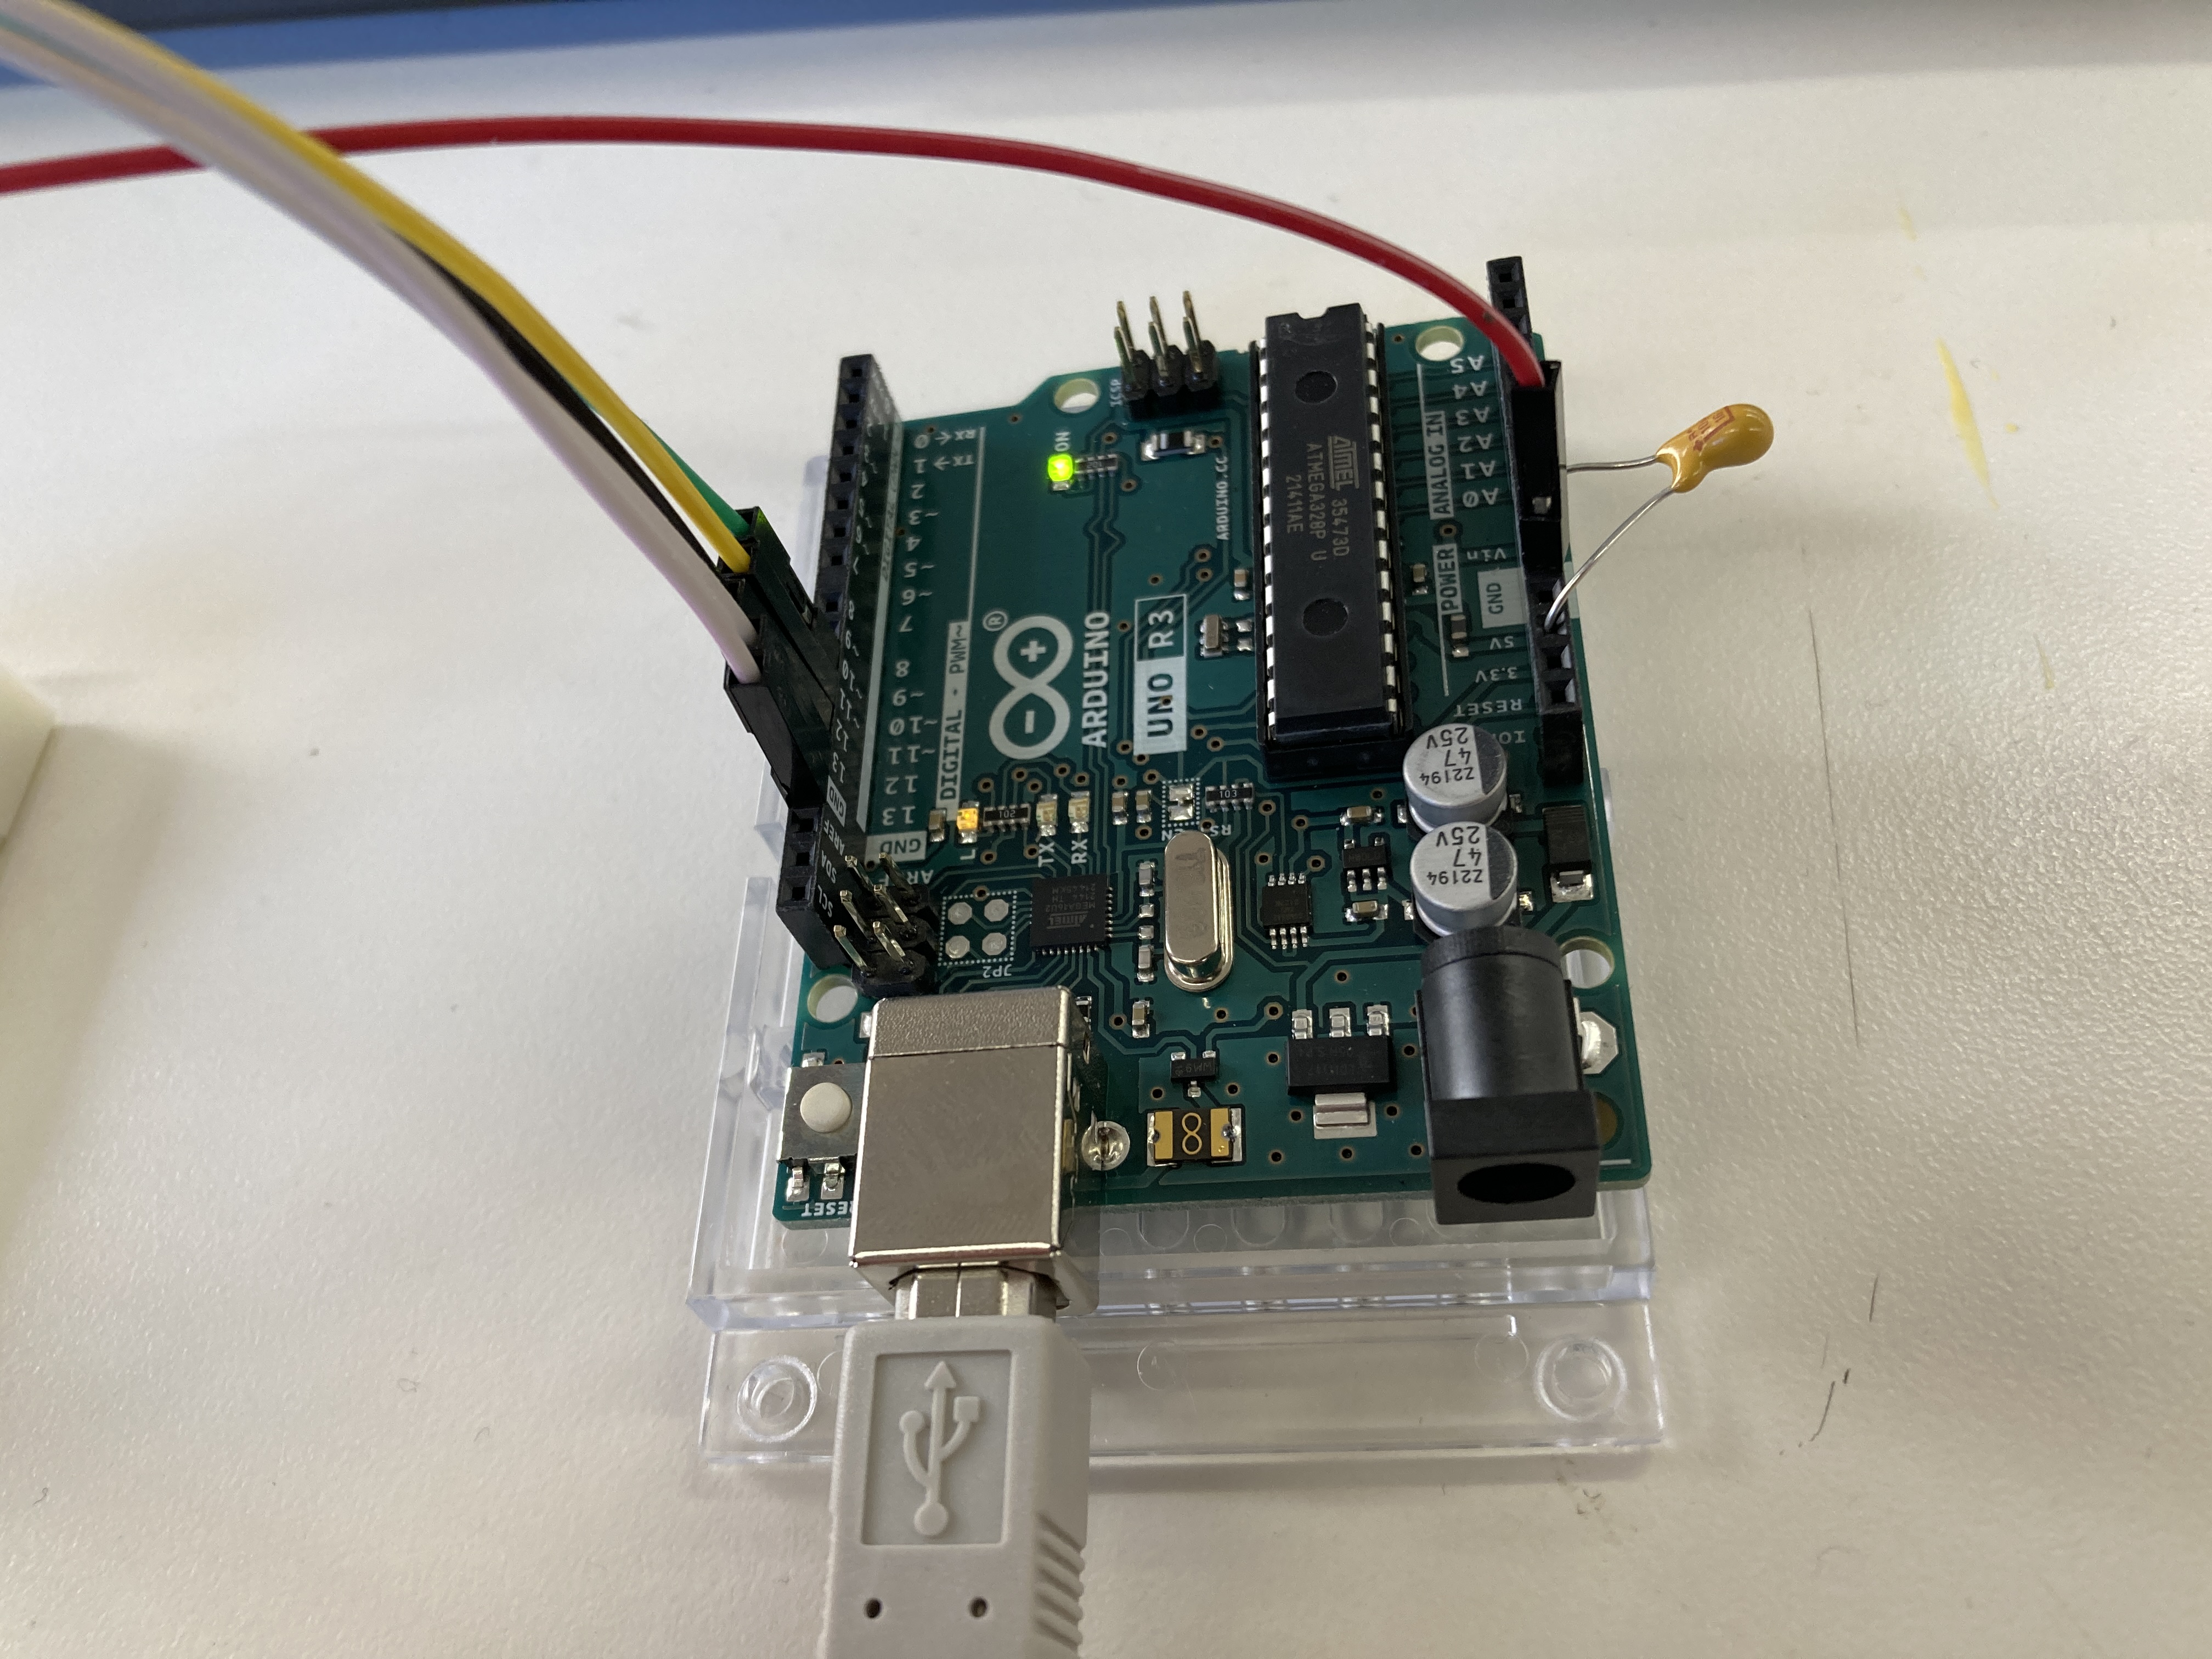
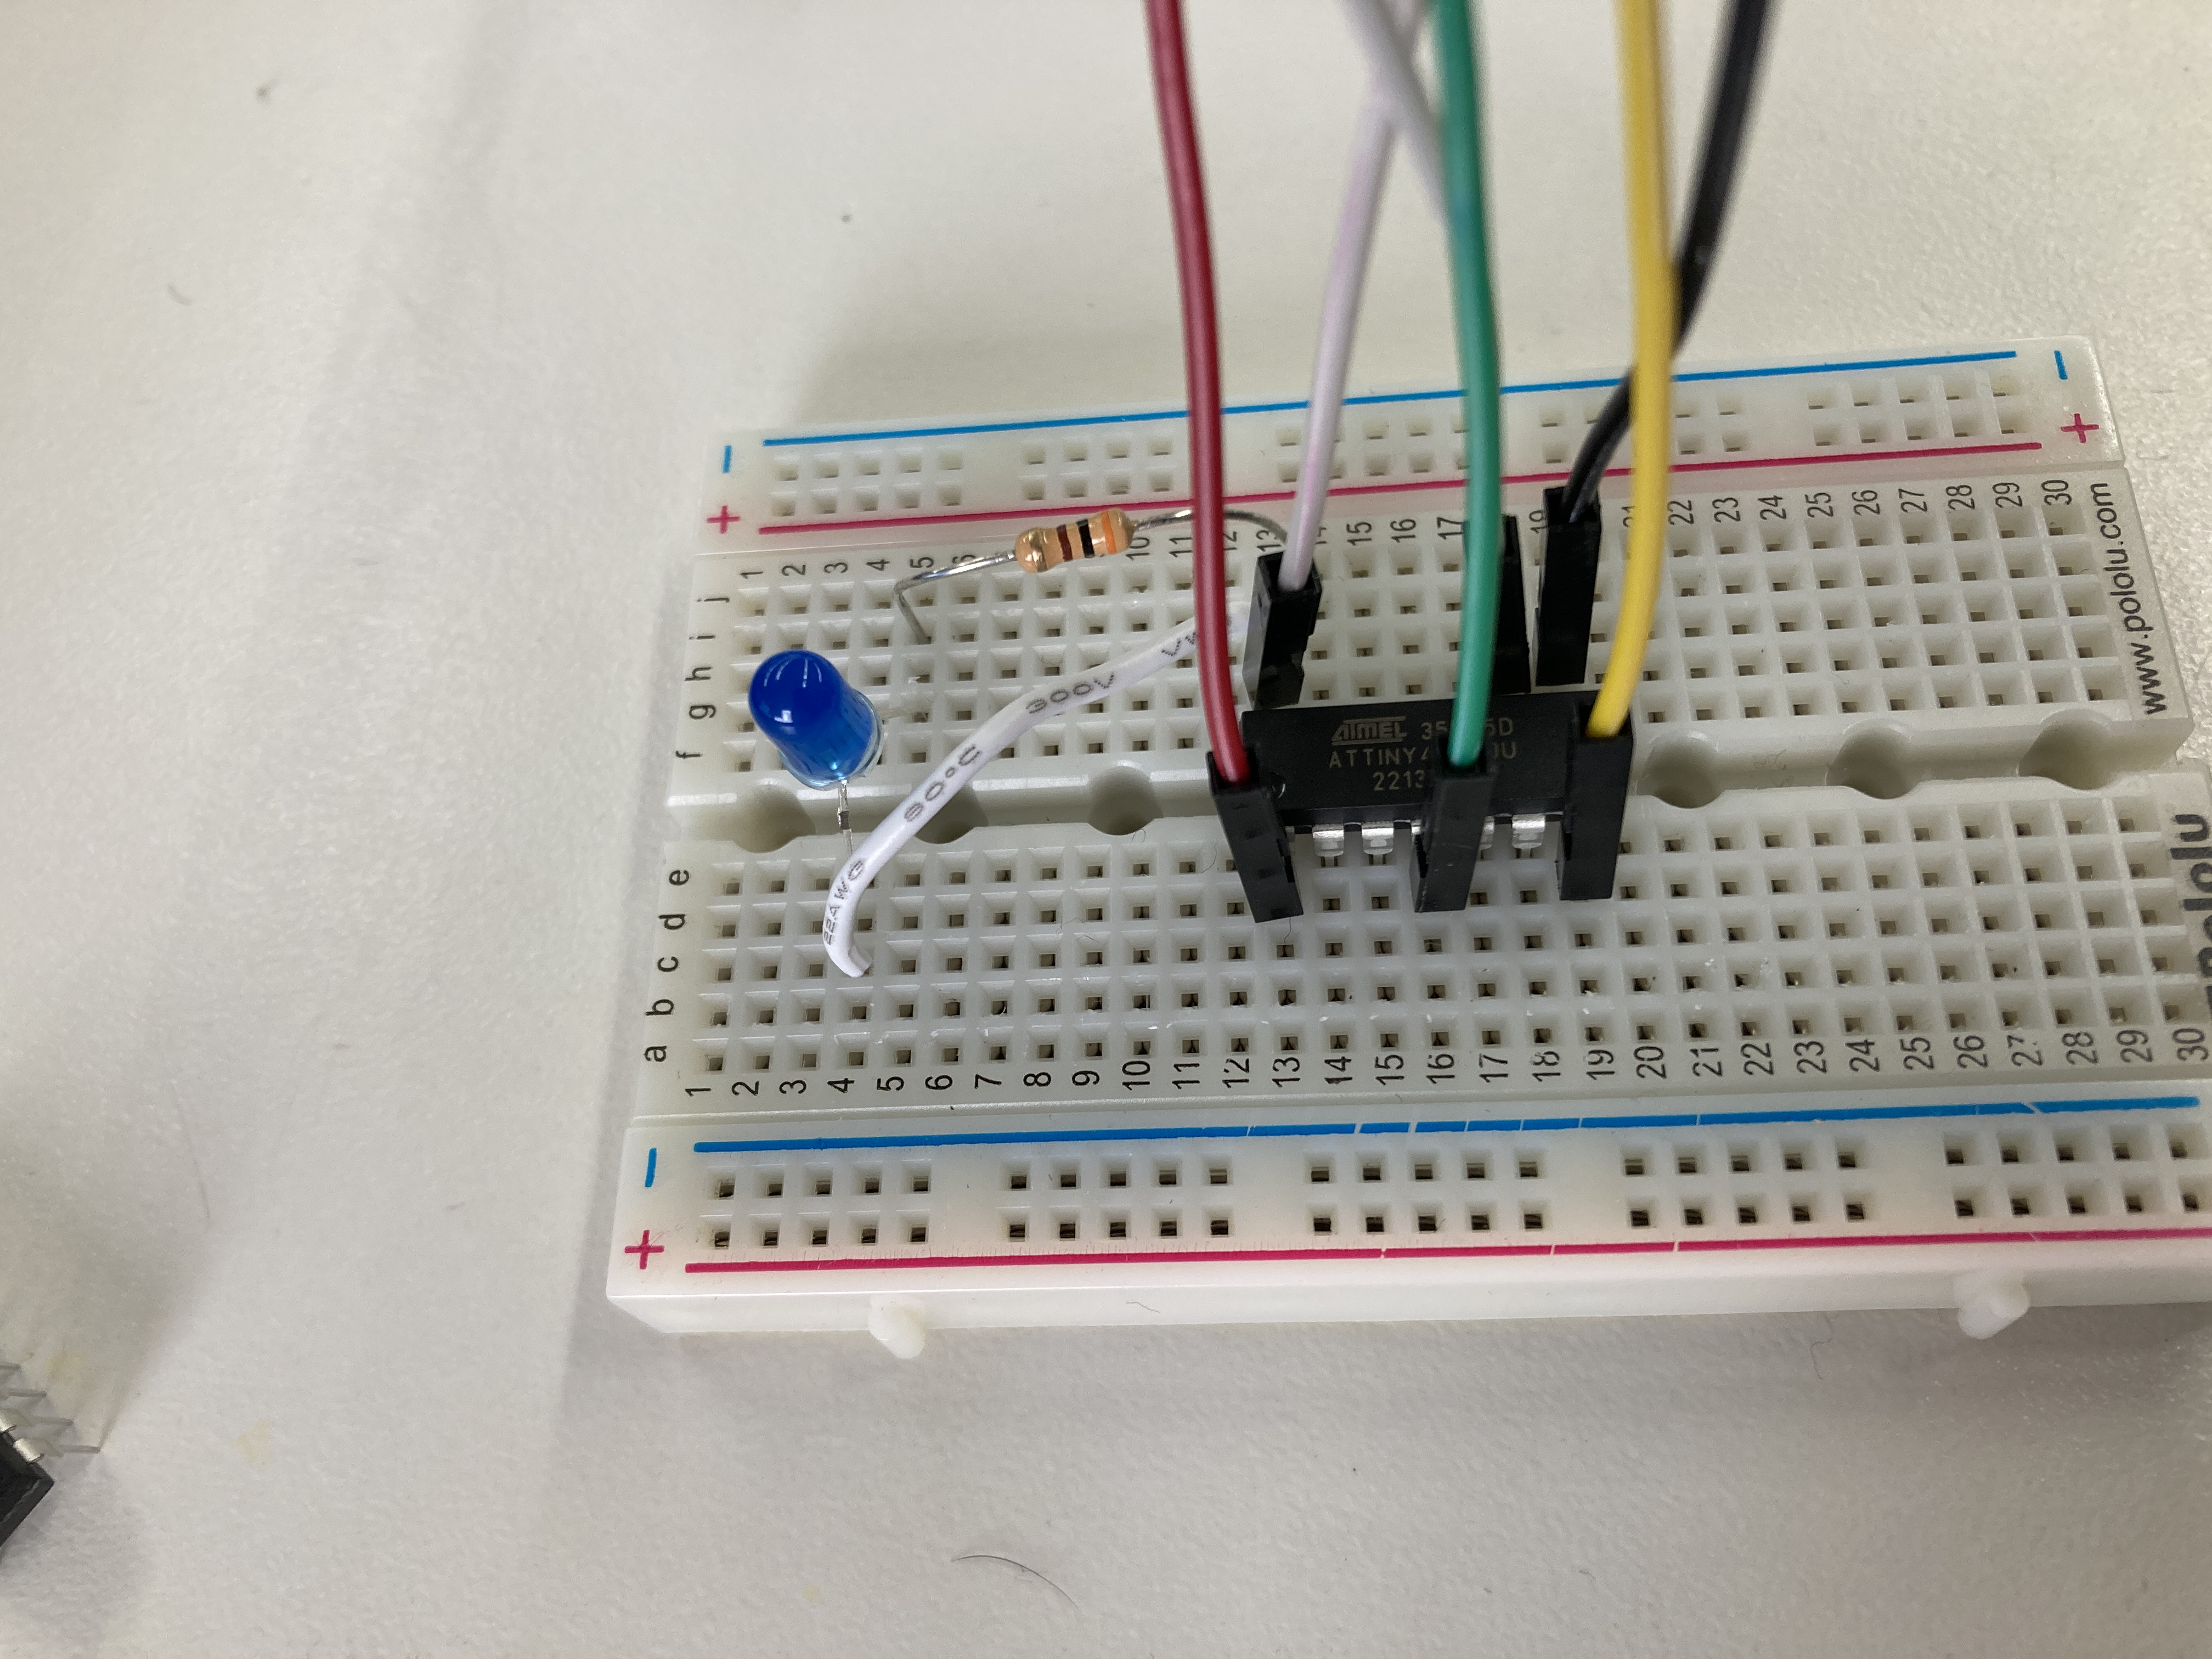
Failure: I'll need to be able to link several microcontrollers together in order to read in code from the user. Unfortunately, I wasn't even able to set up the ATTINY microcontroller to do something as simple as blinking. I spent a lot of time debugging why I couldn't upload code to any microcontroller from my computer, but that ended up being a waste of time since it just seems to work at random times after I unplug and plug it in a few times. I tried following this tutorial to get just a simple blinking program set up, and after a lot of debugging I got rid of any error messages, but now the code says it uploads only to not do anything. I have double checked quite a bit but can't tell if it's a problem in my code, my wiring, or just in the hardware. My time in the lab this week didn't line up with office hours, so I'll have to try harder to get in for those in the coming week. Here are a couple of pictures of my wiring:
Week 11 Update: Tiny Chaining
Just a quick update this week, as I've put in a lot of work but haven't made too much tangible progress. (Although figuring out what won't work is a form of progress, I guess). With Nathan's help, I finally got Blink working on an ATTiny 412, and we switched to the Xiao because the ESP32-S2 was giving me a lot of problems. Then, after some work, I got the two devices to communicate via I2C, but then after a few hours of searching, realized that method would not allow me to detect the order of devices. So now the plan is to use TX-RX in some fashion, so we'll see where that takes me next!